
How to Paint Cabinets and Get Pro Results (Without a Sprayer!)

I’ve painted cabinets before and have not done all of the correct steps to make it “perfect”. There. I admit it. But when it came time to paint my kitchen island, I wanted to do it RIGHT! Its very daunting to paint kitchen cabinets!! SO I did some research, watched some videos, asked some DIY pals, and you guys- I painted my island and its AMAZING!!! And I want you to feel confident enough to do it too! So here’s how!
First, I sanded my cabinets with a 220 grit. I probably could’ve gone down to a 150 grit and it would have been great as well. If your cabinet finish is very shiny, I’d start with the 150 and take it from there. You just want to take off any shine so the primer has something to grip to.
After I sanded, I took some Liquid Deglosser, aka liquid sandpaper, and went over everything again. It made me feel more confident about the hard to reach areas that I may have not gotten well enough when sanding. This was also great because it helped get rid of any left over sanding dust. Wipe clean with a damp cloth.

Now it’s time to prime. Don’t skip this step even though I know you want to. I used a water based all purpose primer by Kilz and it worked well for me. Other DIY friends of mine swear by Zinsser oil based. Go with your gut, pick one, and get to priming. I used a brush to get into the tough spots and then rolled over everything with a foam roller. (If I could do over, I’d use a mohair roller for this. More on that soon.) Try to get a smooth as finish as possible. Once that’s completely dry, its time to sand. I used a 220 for this. You want the finish nice and smooth to prepare for paint! Wipe clean.

Paint color! This was a tough choice but I knew I wanted a nice mushroom shade. I went with Sherwin Williams Shiitake but I ended up having the paint store up the formula by 50% because I wanted it darker after the first coat. Did you know you could do that? Its a very fun trick to customize an already pretty color. You can go up or down in formula strength to get the perfect shade.

Lots of samples sat taped to my island for weeks while I decided. Not even kidding. Weeks.
For the brand and type of paint, I went back and forth between Benjamin Moore Advance Enamel and Sherwin Williams Emerald Enamel. They are both supposed to be very good for cabinets, but I went with Advance because two of my friends used it with great results for their kitchens. It is a diva of a paint, with a 14-16 hour dry time between coats and a 30 day fully cured time. But the finish is really good. No regrets!
To apply this, I used a soft bristle brush and then IMMEDIATELY rolled over it with a roller to smooth it out. Don’t do too large of an area or wait too long or you will see paint streaks and be a sad person. For my first coat, I used a foam roller made for cabinets. Don’t do that. It leaves the tiniest bit of a texture. (See below)

Left: painted with roller. Right: brushed before rolling. See the slight texture where it was rolled with foam?
Instead, use a mohair roller at 1/4” nap. You’ll need this size roller for these. I used that for my final coat and WOW never going back! So paint your first coat and then go to bed. Have a drink. Read a book. Watch tv. Do something with your life! It takes at least 14 hours between coats so use this as an excuse to not paint all day. So after its actually dry, it’s time to sand. Again. Use a 220 grit with a sanding block if you have one. Be GENTLE. You’re not trying to scrape the paint off, you’re making the surface smooth and ready for the final coat.

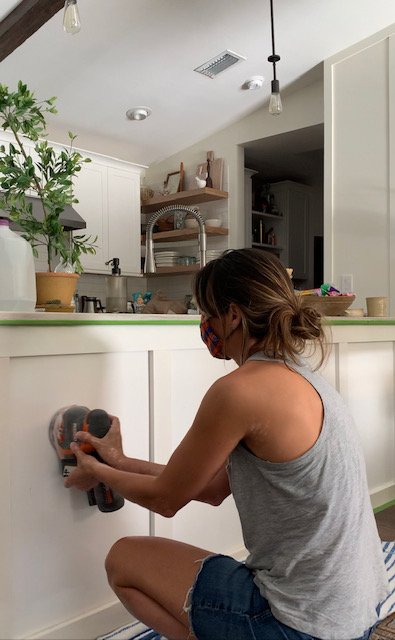
Observe: me being gentle
Wipe clean and its time for the final coat!! I did the “brush and immediately roll with the mohair roller” method again and it worked so well. The good news about this paint is it touches up great. There were some spots after my final coat was done that I saw a few hours later that didn’t look perfect and instead of freaking out, I just applied more paint there, rolled it smooth, and it dried beautifully. You’d never know. So don’t freak if you need to touch it up even before the dry time.

And that’s it! I hung my cabinet doors after 2 days of drying. It was hard to let my family touch them, but I’m getting better every day. hah! It does take 30 days to fully cure, so I’m still being very cautious with them. If you’re more of a visual learner I have a full video in my story highlight section on how I did every step on my instagram page @hartley_home . Let me know if you have any questions and I’ll be happy to help if I can!

Before- see how discolored my trim was? More pink than white! Argh!

After! Loving the warm color!!

Loving this updated view.