
Wood Countertop Under $100
When we updated our laundry room, we did it as part of the One Room Challenge, so I never wrote up a proper tutorial for how we made our wood countertops. Whenever I post my laundry room, I get so many questions asking me to spill the beans so… here we go!
DIY Wood Countertop Tutorial
Materials:
220 grit sandpaper
wood glue
clamps
table saw
jigsaw
wood screws
stud finder
level
L brackets
Locate the studs in your wall. Pay attention to where the water lines may be running up the wall behind the washer. Mark your studs.
Begin attaching your ledger strips to the wall, screwing into the studs to make it secure. Use a level to assure the boards are straight as you go. You’re going to want to place these strips high enough so that the oak plywood can rest on top with the trim piece attached without touching the top of your washer and dryer. Use a partner to help you decide the correct height to achieve this. Use small L brackets to attach these strips in the corner joints where you can.
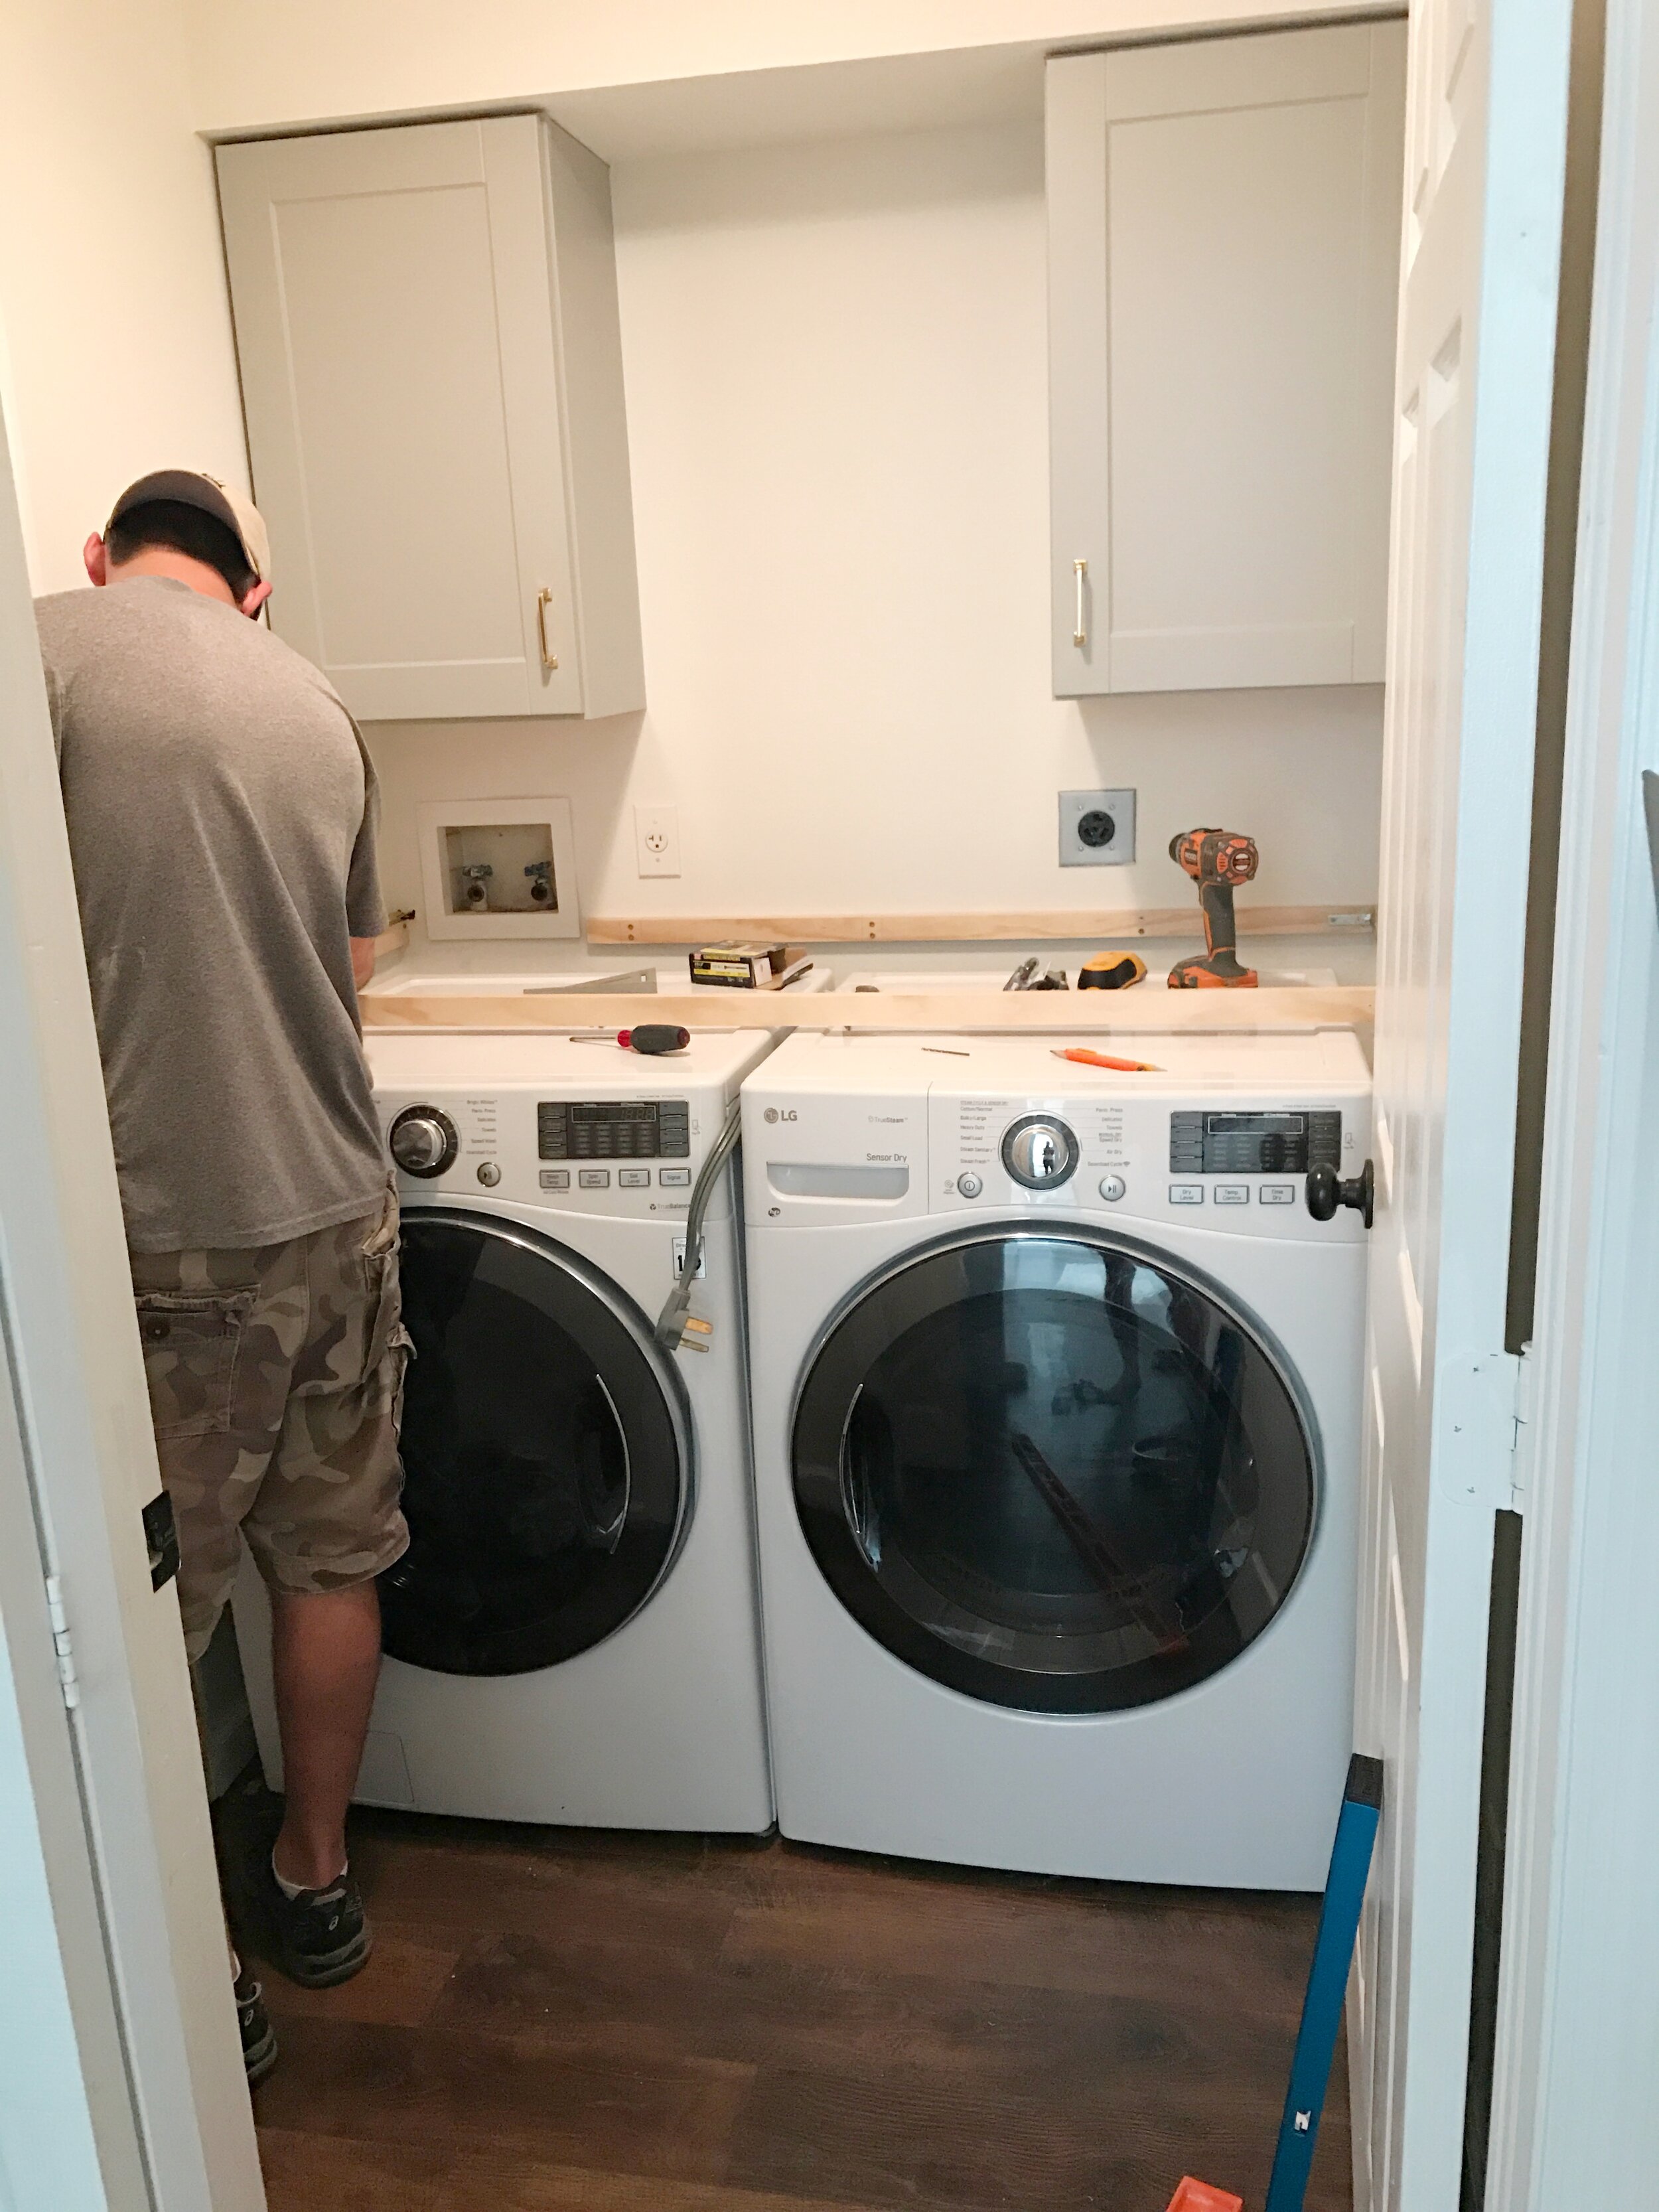
We also added a cross piece about 8” -12” back from the front of the washer and dryer for additional support. Use L brackets to attach this piece as well.
Measure your walls or the area/size your counterop will be. Keep in mind, most walls are a bit crooked so you will need to keep that in mind as you cut your wood to fit the wall. You can use a square tool or any other tool you have with a right angle to see if your wall’s corners are off.
For our counter, we needed to cut a piece out of the wood for a hose with a jigsaw. Be sure to measure carefully for unique situations like this. Like Dan the perfectionist does… Measure 50,000 times, cut once. Ha!

Once we cut the wood and checked to see if it fit, it was time to measure and cut the front trim piece.
Once all of your wood has been cut, it’s time to sand the edges. I would use a 150 grit to make those smooth. Then use a 220 to clean it up and get it ready for stain. Lightly sand the top of the wood as well. Brush the wood free of dust and then use a tack cloth or a slightly damp rag to wipe all of the excess dust off.
Follow the directions on the stain can to stain your wood. Keep in mind, you may need to do more coats on the finished trim piece to make it match the oak plywood for the top. The texture is different and the wood will take the stain differently.
Do another light sanding with 220 grit, wipe clean, and apply your polyurethane with a brush. I did two coats for mine, sanding between coats. Follow the dry time instructions on the can.
Now that your wood is pretty and stained, its time to attach the trim piece to the plywood. To do this, we used wood glue and clamps.

Dan placed a piece of scrap wood in front of the oak trim so the clamps pressed against the scrap instead of the finished wood. We let this dry overnight.


Once dry, you’re ready to place the wood countertop in your ledger strips and enjoy! We didn’t attach this top piece/ countertop to the ledger strips so we can take it off if we ever needed to easily access the back of the washer or dryer.
Just for fun, lets take a look at the before of this space.

And now the after! What a difference!

Now go make one for yourself! And please let me know if you do. I’d love to share your project on my instagram page @hartley_home