
One Room Challenge Week 6 Pantry REVEAL

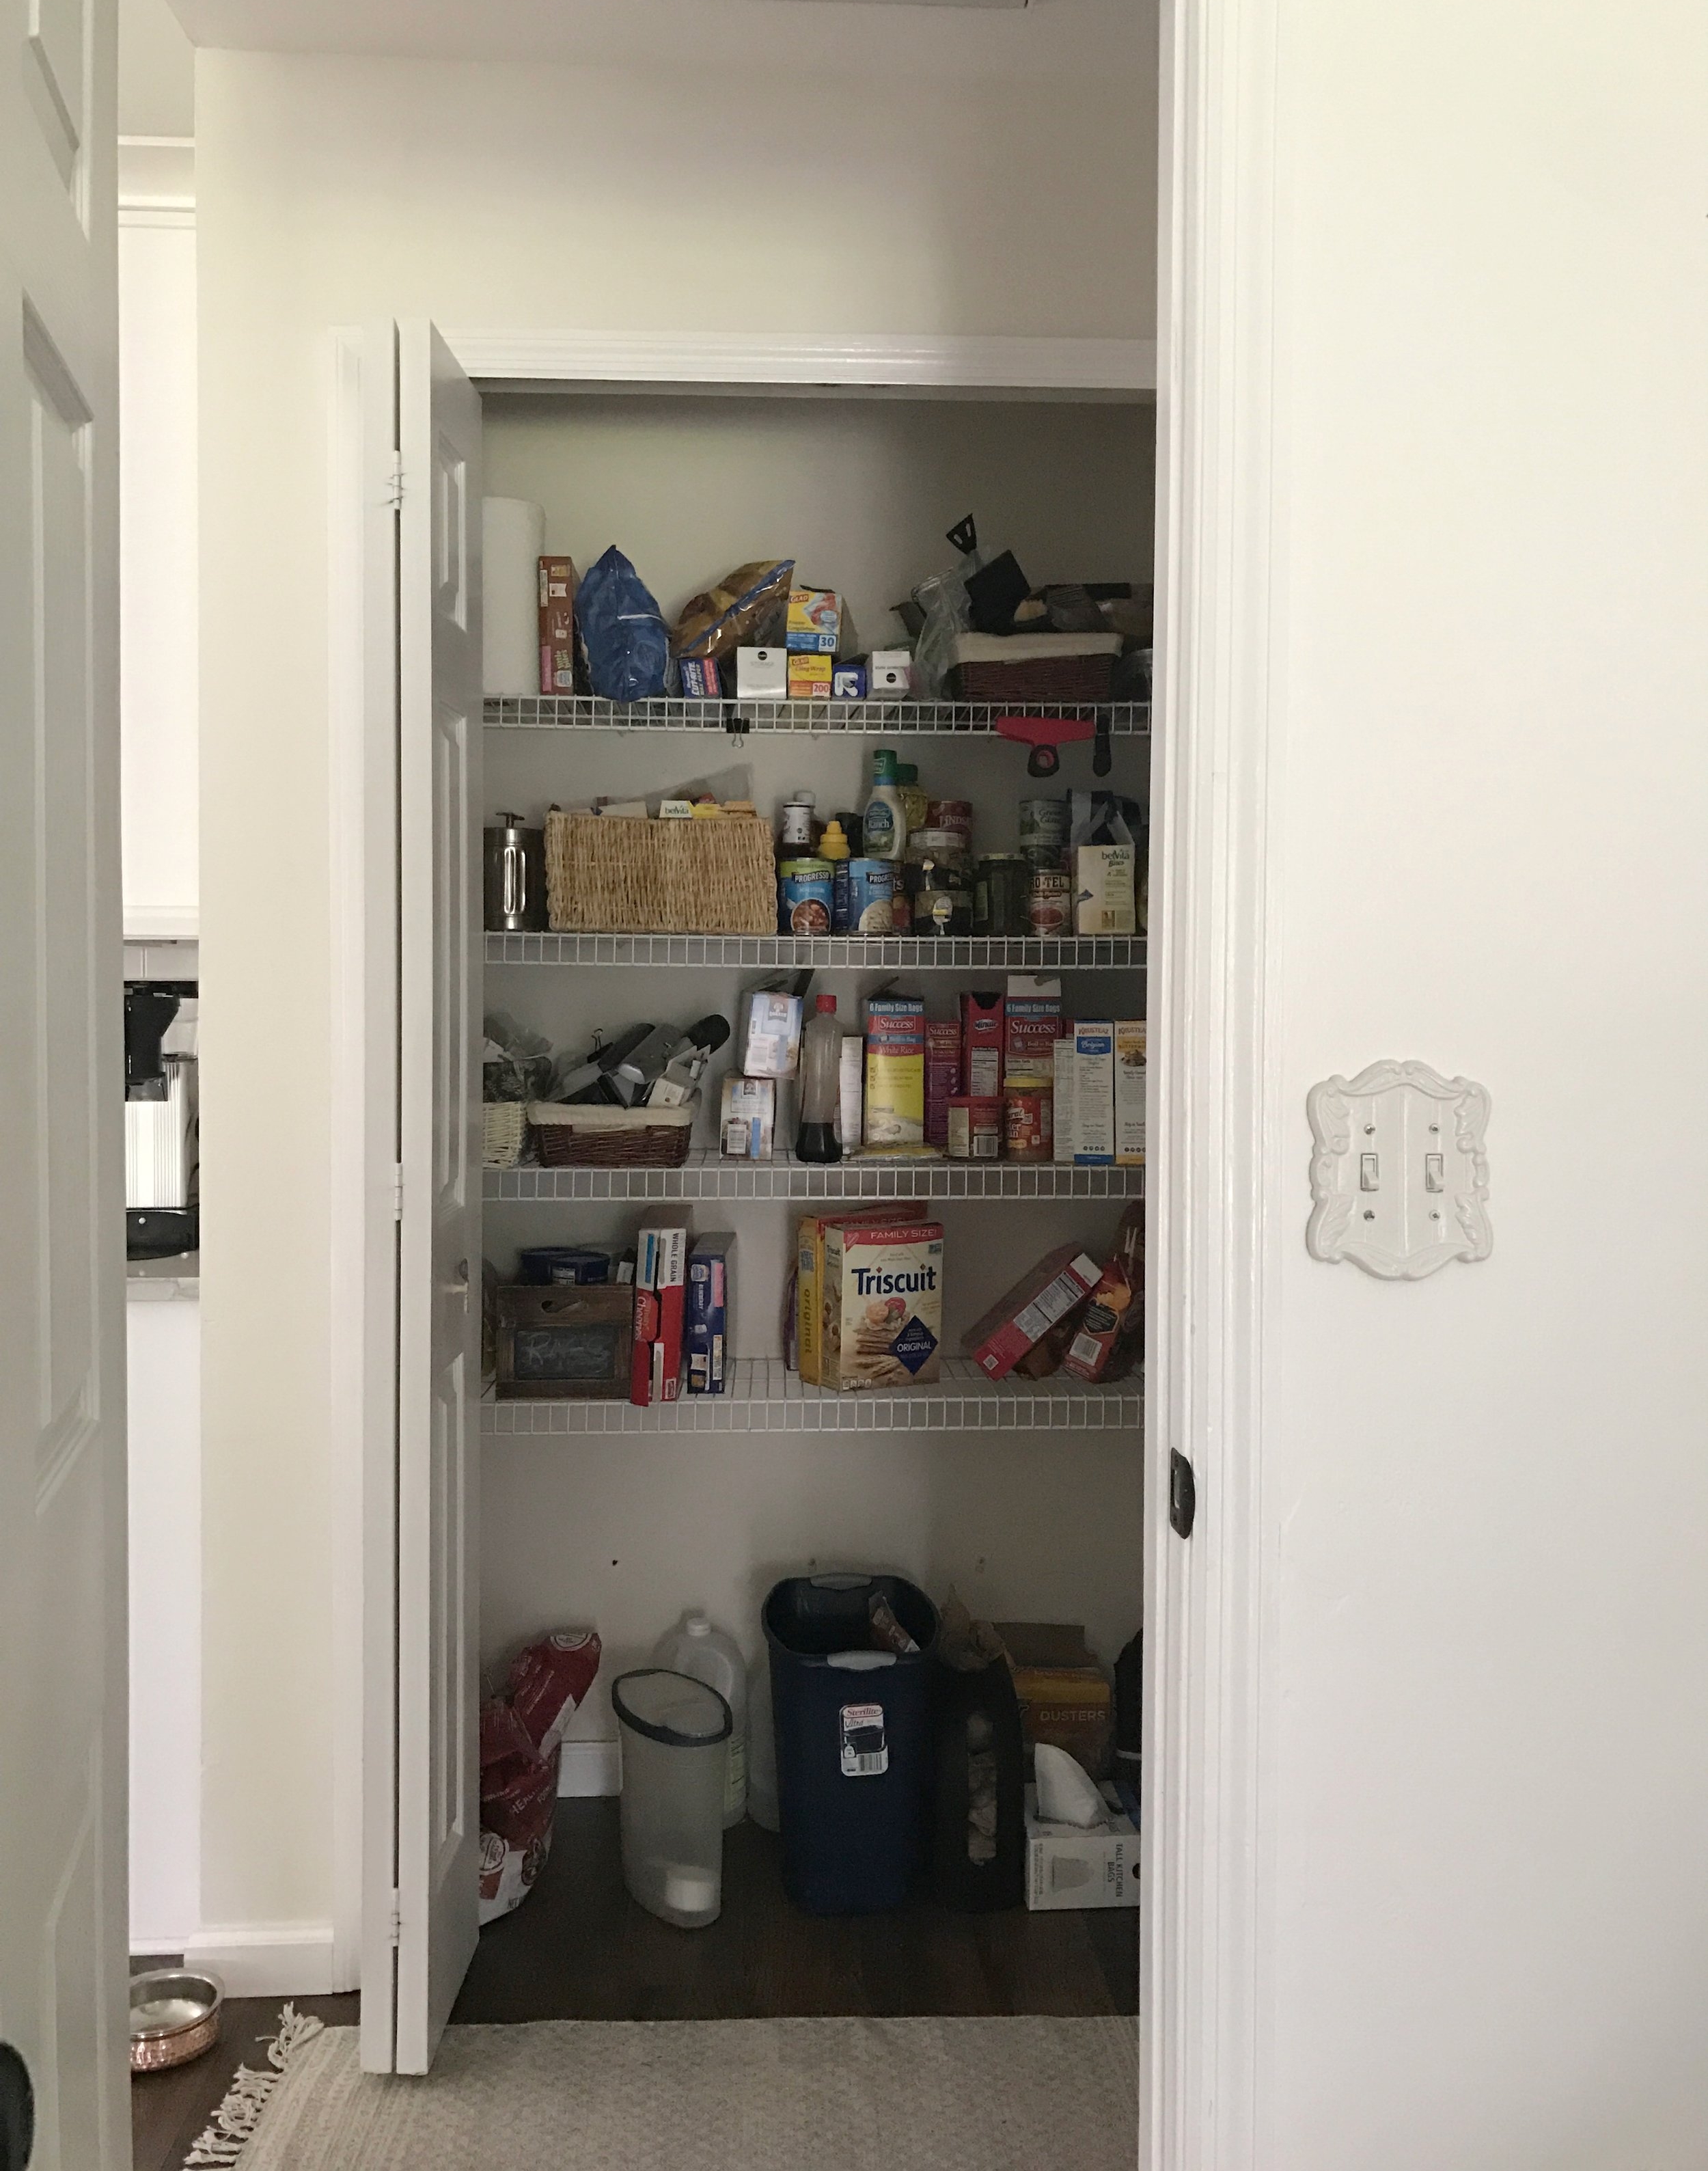
It’s finally here!!! The end of this pantry remodel and I’m so excited that I get to share it all with you. So before I share the after… here is the before one last time.
And now the AFTER!

I LOVE it! I know other bloggers worked on entire rooms and made miracles happen, and I’m over here doing a butler’s pantry, but I am still so proud of our project. I love how it turned out and can’t stop looking at it with heart eyes.
Here are some more before and after photos for your (my/ our) viewing pleasure.

Before- those dang bi-fold doors that pinched so many little fingers….

AFTER- pretty countertops and floating shelves replace a basic wire shelf pantry. I can’t believe its the same little space.

Before

AFTER- My two One Room Challenge babies right next to each other like a pretty little makeover parade. :)
Ok so back to the work! I want to show you how we got here in this last week.
(I think a lot of people don’t go into great detail for the final reveal week but if I’m being honest, if I don’t write it all up now I may forget what we did and also I may not get to it right away. SO here we go!)
The first and favorite thing that happened this week was the backsplash change. I’m SO glad I went with stained wood vs white. It took a tiny bit of bravery since you don’t see it done that often, but now that we did it, I love it and want to do it in more projects. To say I’m obsessed is completely accurate. Haha!

After a ton of trials, we ended up staining it with Varathane Wood Stain in Sunbleached and sealing it with Minwax water based Polycrylic in Clear Matte.
Here is what I learned about sealing wood- If you use an oil based, it makes the wood pull more of the red/amber tones. We used oil based in our kitchen for our shelves and in the laundry room for our countertop. I like the shade in those spaces, but for this, I wanted muted and natural. Water based is the way to go if you don’t want the wood color to change very much. It will make the wood a tiny bit darker, but nothing crazy. You can also use wax, but even the wax pulled more amber tones than the water based poly.
For the “shiplap” here is what we did. I found a sheet of thin oak plywood that I liked. When choosing, look for a piece with pretty grain pattern if you plan on staining it. I went through quite a workout pulling these huge pieces of wood off the shelf at Lowes but I think I found the perfect piece.
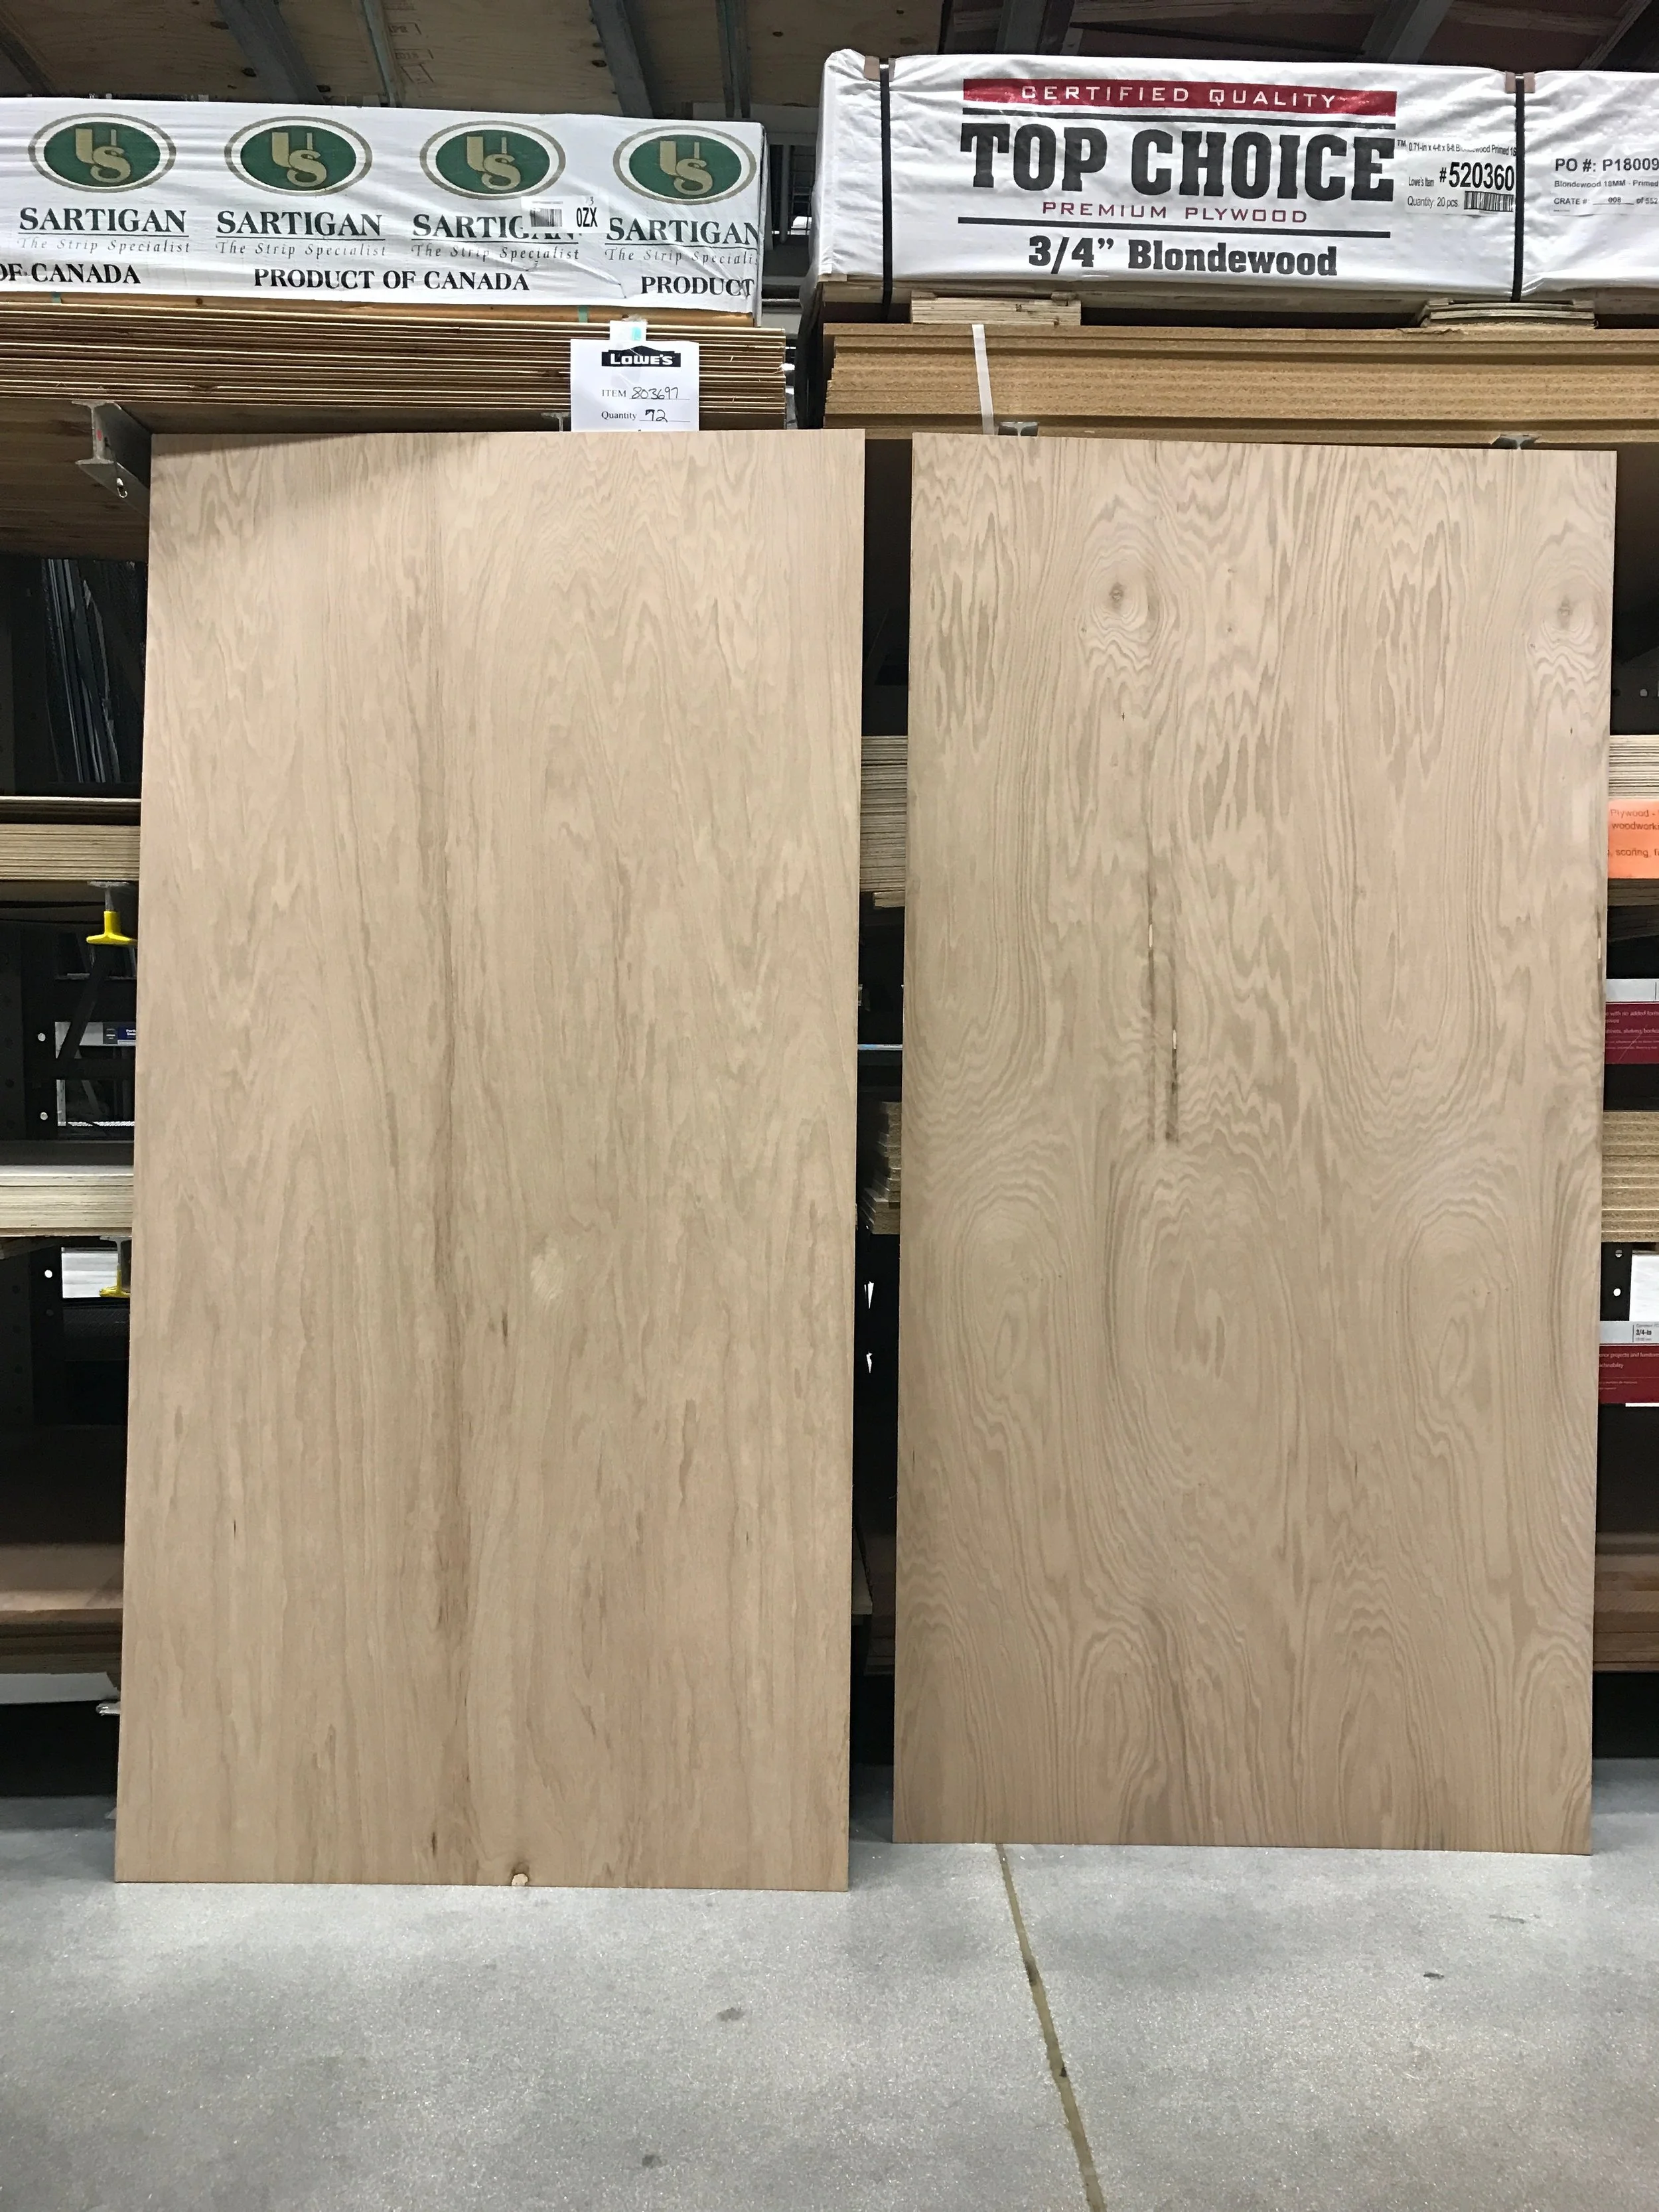
I chose the one on the left. I liked the grain- not too busy, but interesting and pretty.
Next, Dan cut them into 4” wide strips. He then cut the pieces to just over the correct height for each section. That way he could trim the ends off with his saw that is good for smaller pieces and clean cuts once it was time to install. We decided to install the backsplash as if it were tile and glue it up after the shelves were in instead of putting it up before the shelves in longer strips. It was easier for Dan to make the cuts that way on his own with his saw and that’s what he wanted to do. (I don’t argue with him when it comes to stuff like this. As long as it looks right in the end, I’m not picky on the process. LOL. Do your thang, Dan!)
Next was my part- sanding and staining them all. Check out alllll these pieces. Whew! I ruined (it was already a hot mess) our table in the process because the stain dripped and went through the sheet. Oops. So if you do any staining, put down plastic first or end up like me with a spotty stained table.

We decided to make shelves instead of buying pre-made white ones for two reasons. 1. I couldn’t find one that was the correct length. 2. The ones I was seeing in stores looked cheap with their sharp corners and fake wood with laminate on top.
I found these stair treads at Lowes and knew I had a winner. They are solid oak and the correct depth too. It was a perfect fit. Dan cut the rounded front edge off and sanded the new edge a bit and what resulted was a nice slightly rounded edge to our wood. We had planned on using a tool to make the edges round but there was no need with this stair tread. SO cool.

The tricky part to this was getting the wood smooth enough to paint and not show the grain. I sanded them down to what I thought was smooth but when I started painting, the paint made the wood grain swell and it just looked like a homemade shelf. The worst kind of DIY is one you can tell is a DIY (at least that’s my thought on it) so it was time to try again. Dan took sandpaper to my painted shelves and sanded them like a maniac. We didn’t have an electric sander but if you do this, use one of those and it’ll be a lot easier. Don’t be a maniac like Dan.

Post Dan sanding
This time when I painted, instead of my trusty Purdy brush, I used a foam roller and that was so much better for this project too. We used this paint, which was fine, but I normally use Sherwin Williams and like it a lot better. It’s more expensive but with paint you get what you pay for I think. I did three coats to get it looking professional and pretty.

Dan used a tool called Kreg jig to make holes in the shelves so we could drill right into the studs. He made the holes on the bottom of the bottom shelf and the tops of the top shelves so you’ll never see them. We still bought plugs to fill in tho holes and painted them white because we are fancy like that. ;) I painted those after the fact with a little paint brush. Shelves are installed!

Back to the backsplash, we were going to use some kind of spacer to see where to place the strips of wood but we ended up just eyeballing it. We wanted them very close together so the white wall didn’t show through the gaps. Dan used Liquid Nails to attach the wood strips to the walls. LOVE them!!!!

Sorry for the poor lighting- we were working nights on this one!
Next it was time to install the crown molding to the top of the cabinets and then I got to style it all up with the pretty things I had been hoarding!
Once we got it styled, we both agreed that the wall sconce I had sketched and planned on from the beginning needed to be there. We were going back and forth on it and decided we could add it after the fact if need be. To wire it in, Dan or an electrician would have had to climb up into the insanely hot attic and it would’ve been a whole production. The sconce was more for looks than function because we have a light in this hall already, so that’s why we decided to wait and see.
I found a tutorial from Nesting with Grace on how to fake a light install and it worked perfectly! We ended up using this sconce from Urban Outfitters which was a twin of the Schoolhouse version but only $29!! Whoohoo! I didn’t want to spend a lot on a sconce that I knew we would be cutting the cord out and tweaking so this was perfect. Plus I loved that it was matte and not satin. The matte looks so perfect with the wood backsplash and my other accessories. So cool. We also used these puck lights and they’re awesome. They come with a remote and we were able to install them under our cabinets here and in our kitchen too. The girls (and I) have fun using the remote to turn them off and on. Sometimes we have dance parties while doing it. I’ll have to show you sometime :). We are easily amused over here in the Hartley household.

So that’s it!! Our pantry is done. Yes, I can still fit everything. Yes, I’m SO happy we did it. Yes, I LOVE it. :)
Thanks again for following along and for your support. You guys truly make these projects so much fun! Head over to my instagram account to watch our stories and see all of the behind the scenes action and fun. I have the whole six weeks saved to my story highlights if you missed anything!
Thank you to One Room Challenge, Home Love Network, and Better Homes and Gardens for putting together this special event. I love being a part of this supportive, amazing community. You can check out all of the final reveals here! You won’t be disappointed!